
Onboarding
Learn about the available ways to onboard merchants with Tapaya.
Before a merchant can process payments, they must complete KYB (Know Your Business) onboarding. Tapaya verifies the merchant's identity and business details to meet payment processor and regional regulatory requirements.
Enable online payments
Checkout is live for approved merchants. During onboarding, select online payments or both online and in-store payments. Provide the shop website and online business details. Checkout-only onboarding does not require terminals.
Merchants requesting online payments appear automatically in Checkout in the Tapaya Platform. They cannot take payments until the online processor approves them and their payment gateway is configured. An existing in-store approval alone does not enable Checkout. The merchant must also be active.
Check for Ready in the Checkout merchants table, then configure keys, wallets, and any hosted return URLs in Checkout settings. Creating a merchant record or an API key alone does not enable payments.
Responsibility Matrix
Every flow ends with the same verification decision, but the work leading up to it is split differently. Confirm who owns each step before you commit to a flow below.
| Step | ||||
|---|---|---|---|---|
| Create the merchant record | You | Youvia API | Youor the invite creates it | Merchantself-registers |
| Provide the form and validation rules | Tapaya | You | Tapayahosted | Tapayahosted |
| Distribute the link | Not used | Not used | Youone recipient | Youany channel |
| Enter business, banking, and ownership details | You | Merchantin your UI | Merchant | Merchant |
| Consent to Tapaya terms and Privacy Policy | Merchant | Merchant | Merchant | Merchant |
| Submit the application to the processor | Tapaya | Tapaya | Tapaya | Tapaya |
| Verify the application (KYB) | Tapaya | Tapaya | Tapaya | Tapaya |
| Monitor verification status | You | You | You | You |
| Correct rejected or missing details | You | You | Merchant | Merchant |
In assisted Platform UI onboarding, your operator fills in the form on the merchant's behalf. The merchant is still the party that consents to the Tapaya terms and Privacy Policy, so confirm they have seen and consented to them before you submit.
Choose an Onboarding Flow
Choose the flow based on who should enter the merchant's details and how you want to distribute onboarding. Every flow is available from the Tapaya Platform UI. If you want to automate it, use the corresponding API described in the Merchant Onboarding API.
Tapaya Platform UI
An administrator enters the merchant's information and completes onboarding on their behalf in the Tapaya Platform. This is suitable for assisted onboarding, smaller merchant portfolios, or cases where your operations team already has the required information.
How to start it: Create or select the merchant in the Tapaya Platform and open their onboarding. The same flow can be initiated through the API when you need automation.
In the sidebar, expand Payments and open Merchants. Go to the Add a merchant section. On the Add a merchant manually card, select Start onboarding.
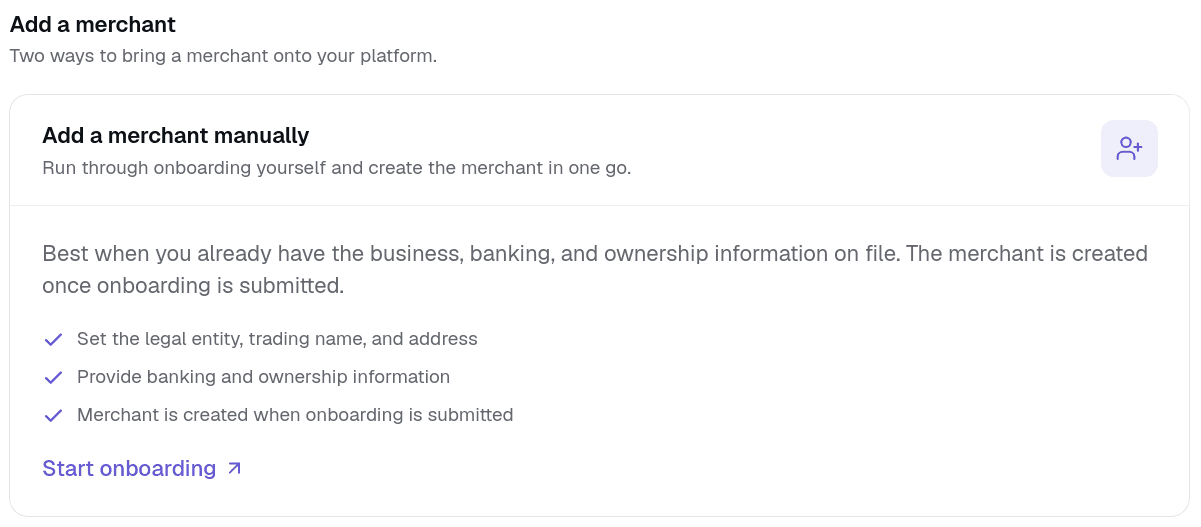
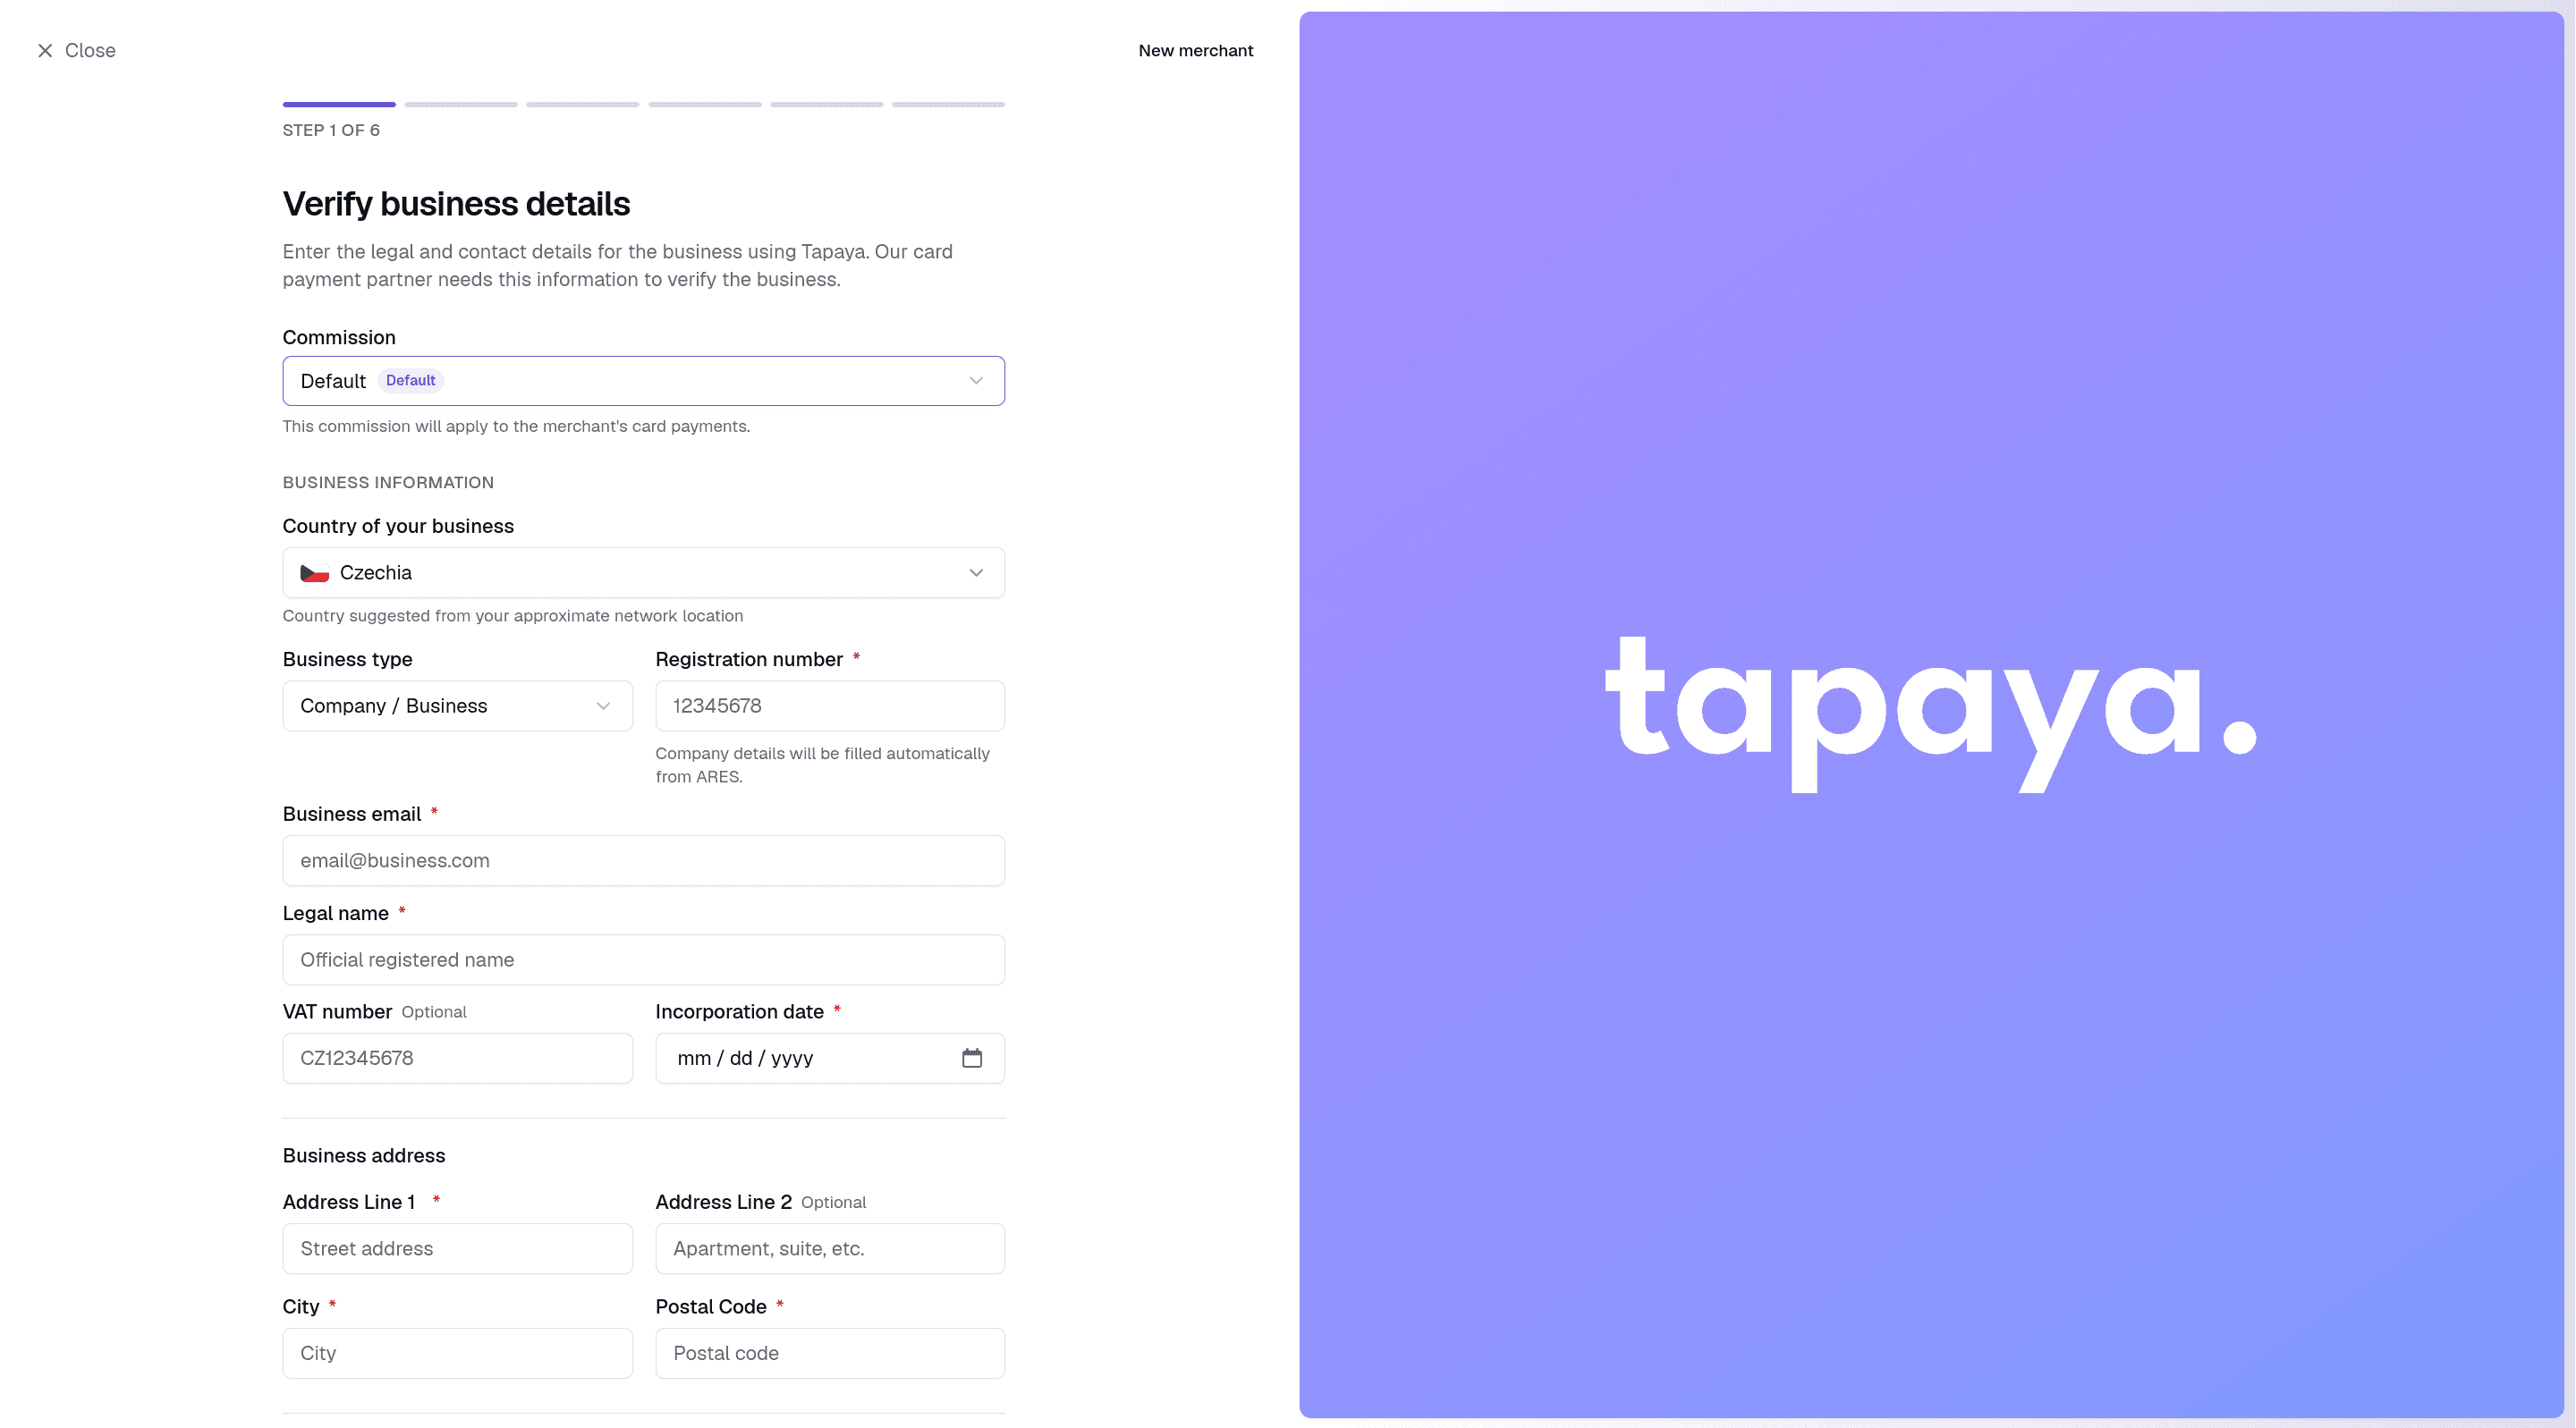
The Platform opens the guided onboarding form with the required business, banking, and ownership sections.
Who Owns What Overall
Taken across all four flows, each onboarding step falls to one or more of the three parties. A step ticked twice is one whose owner depends on the flow you picked above.
| Onboarding step | Tapaya | You | Merchant |
|---|---|---|---|
| Choosing the onboarding flow | Not Tapaya | You owns this | Not Merchant |
| Providing the form and validation rules | Tapaya owns this | You owns this | Not Merchant |
| Entering business, banking, and ownership details | Not Tapaya | You owns this | Merchant owns this |
| Distributing invites and campaign links | Not Tapaya | You owns this | Not Merchant |
| Consenting to Tapaya terms and Privacy Policy | Not Tapaya | Not You | Merchant owns this |
| Submitting the application to the processor | Tapaya owns this | Not You | Not Merchant |
| Verifying the application (KYB) | Tapaya owns this | Not You | Not Merchant |
| Keeping requirements current with regulation | Tapaya owns this | You owns this | Not Merchant |
| Monitoring verification status | Tapaya owns this | You owns this | Not Merchant |
| Correcting rejected or missing details | Not Tapaya | You owns this | Merchant owns this |
Where Responsibility Is Shared
- Providing the form and validation rules: Tapaya provides and maintains the form for the Platform UI, email invites, and campaign links. If you build Your Own UI, the form is yours and you keep its fields and validation aligned with current requirements.
- Consenting to Tapaya terms and Privacy Policy: Tapaya presents these documents in its hosted flows. With Your Own UI, you must present links to both documents and obtain the merchant's consent before submitting their onboarding details through the API. You must also list Tapaya as a data processor in your own privacy policy.
- Entering the details: Your team enters them during assisted Platform UI onboarding. In every hosted or self-service flow, the merchant enters their own.
- Keeping requirements current with regulation: Tapaya updates the hosted flows automatically. With Your Own UI, you track changes to the API onboarding requirements and update your form.
- Monitoring verification status: Tapaya exposes the status in the Platform UI, through
Accept.merchant.onboardingStatus()in the Accept SDK, and over the API. Acting on it is yours: prompt the merchant when something is missing or rejected. - Correcting rejected or missing details: Whoever entered the details corrects them. For hosted flows, that means prompting the merchant to resubmit.
For responsibilities across the whole merchant lifecycle rather than onboarding alone, see Responsibilities.
Verification Status
After the merchant submits the form, their account enters a review state. The payment processor reviews the submission; this typically completes within minutes but may take longer in some cases.
A merchant will not be able to process transactions until their account is verified. You can check their status at any time in the Tapaya Platform UI. Integrations can also check it with Accept.merchant.onboardingStatus() in the Accept SDK or over the API, and prompt the merchant to resubmit if details are missing or rejected.